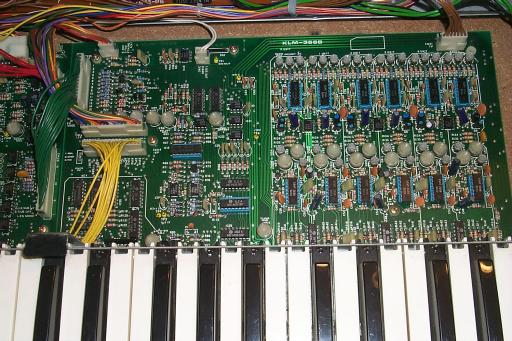
1-1: Open the machine and locate the keyboard's sixteen-wire cable that attaches to the KLM-366 circuit board on connector CNxx. In the KLM-366 image it is the cable comprised of yellow wires shown near the left side of the board. Unplug this cable from the board.
1-2: Assuming the machine is sitting on a flat tabletop, close the cover and move the machine forward until it overhangs the edge of the table approximately eight inches. There is still plenty of weight at the back to keep it from falling off.
1-3: Looking at the underside of the machine that is now exposed over the table edge, note there are six screws holding the keyboard frame to the case. Also note there are screws holding the EG/MG wheel assembly to the case. Remove the six keyboard retaining screws and setr aside.
1-4: Move the machine back onto the table and open the cover. Making sure not to snag the keyboard cable on anything, lift the keyboard out of the case.
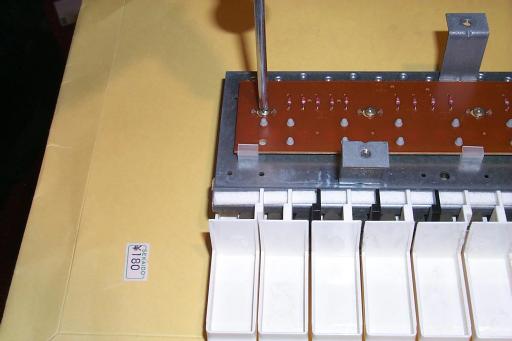
2-2: Using a Phillips screwdriver, remove the sixteen retaining screws as shown above.
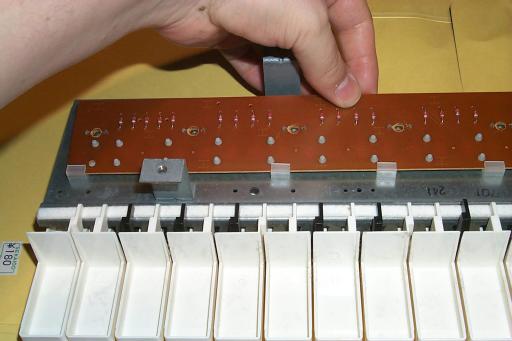
2-3: Lift the circuit board up at the back and carefully remove it from the retaining clips. This board is long enough that it becomes flexible, so be careful not to break it.