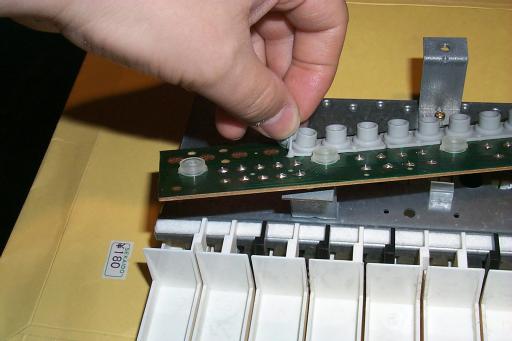
NOTE: I do not remove them all at once. I usually pull up one strip, clean the contacts as described below, and replace the strip before pulling up the next one. This keeps things relatively neat.
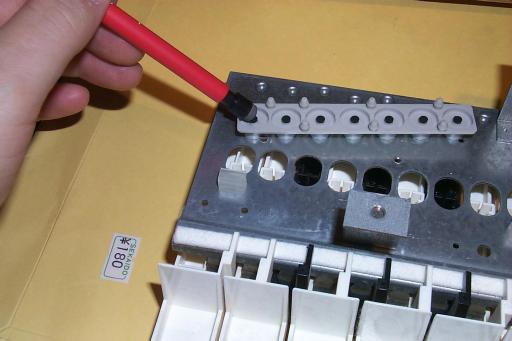
Method 1) use a pencil eraser and gently rub the black contact face 2 or 3 times as shown. The is the easiest solution if only a few contact pads are causing problems.
Method 2) use denatured alcohol and a Q-tip swab to clean the contact face. These 'elastomeric' contact pads tend to dry out over time, which causes a thim film to cover them. The idea is to rub the film away. Don't overdo it, however.
Method 3) for cases where the majority of contacts are failing, it is best to purchase a rubber keypad contact repair kit, such as the part# CW-2605 available from Hosfelt Electronics. Also get a part# CW-7400 'Gold Guard' cleaning pen from them as well, which can be used to clean the gold-plated contacts described in the next step.
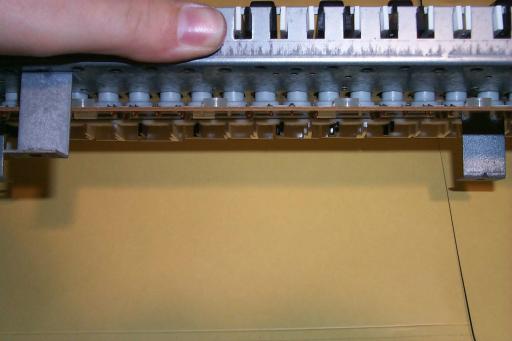
4-2: Now, similarly, for each gold-plated, interleaved contact area on
the circuit board, it is recommended to use a gold-contact cleaning pen
such as the 'Gold Guard' model offered by CircuitWorks and sold by Hosfelt
Electronics as noted above. Alternatively, use a different
eraser than was used for the rubber contact pads and rub each area
2-3 times as shown, or use denatured alcohol and a Q-tip swab. Don't rub
the gold plating off!

4-3: Make sure no eraser crumbs are still present, then press-fit the rubber contact strip back onto the board. A properly-seated strip will not be 'pulled' or 'buckled' in appearance.
4-4: Repeat steps 3 and 4 until all the contact areas have been cleaned.
5-2: Pay attention here, this can be tricky. Align the rubber caps with
the holes in the keyboard frame, checking to make sure every cap
fits in its respective hole properly as shown. These caps tend to hook
the edge of a hole and scrunch up underneath the keyboard frame. Use a
blunt tool (I use a plastic TV IF transformer adusting tool) to coax
finicky keycaps into place if necessary. Do not use anything with a sharp
point like a pencil which could tear the keycap.
5-3: Once the keycap fit for each key is verified the board can be refastened with the sixteen screws.
At this point the keyboard can be placed back in the machine and its cable reattached to the circuit board. Do not bolt the keyboard back down just yet. Close the cover and plug in and power on the machine. Select a decent patch and play every note on the keyboard to verify that it sounds. if a key seems 'sticky' or otherwise unresponsive, note which key(s) this happens on and go through the cleaning procedure again for those specific key contacts. It will take a minimum of deduction to remove the correct rubber strip and clean the correct contacts. Eventually, all the keys will be working fine again.
After all the keys are working satisfactorily, power off and unplug the machine. Bolt the keyboard back in place. Reinstall the cover screws to the machine's front panel, and you're done until another cleaning is needed in ten years or so.
The End.