REI <==> Reverse Engineering, Inc.
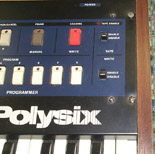
Old Crow's Synth Shop: Korg Polysix Preliminary
Inspection
DISCLAIMER: The information contained herein is provided as-is. No
warranties of any kind are expressed or implied; use of this information
is solely the responsibility of the persons accessing these pages. The
reader is responsible for any modifications or repairs. In other words, I
cannot be held responsible if you break something. This is a project page
intended primarily for hardware engineers. While I try to make the
information as easy to follow as I can, this isn't really a project for
beginners. Considerable hands-on experience is *required* in areas such
as soldering and circuit-board trace modification. You have been
warned.
NOTES: MAKE CERTAIN THAT POLYSIX IS UNPLUGGED FROM AC POWER LINE!
Clicking on each thumbnailed image will display the larger image.
Step 1: Opening the Unit
Tools required: a medium Philips screwdriver.
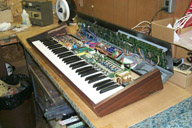
1-1: Start with the Polysix sitting on a flat table as illustrated:
 .
.
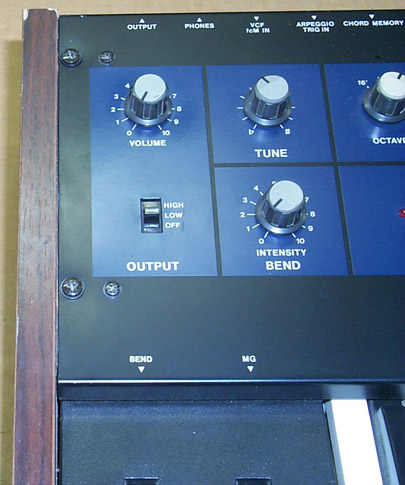
1-2: Locate the front panel mounting screws. Shown below are the left and right cover screw
locations. Remove only the two larger screws on either end; leave the
smaller ones on the panel alone.

1-3: Now, pick up the Polysix and set it back down such that the back
end of the unit overhangs the table by about two inches as shown. Remove
the four screws that are now accessible on the bottom of the unit. In the
illustration, three have already been removed and one is still awaiting
removal.

1-4: Pick up the Polysix and set it back down on the table as shown
in step 1-1, then simply lift the front cover up. It will rotate back and
stay open in a convenient "hood-up" position:
 .
.
Scott Rider -- oldcrow@oldcrows.net
 .
.


 .
.