
5-2: Clean the area with a brush and alcohol.
5-3: After the cleaning solution dries, place the board upside-down either under the chuck of a Dremel drill-press or other wise on a flat table with a telephone book underneath to protect the tabletop from the drill bit.
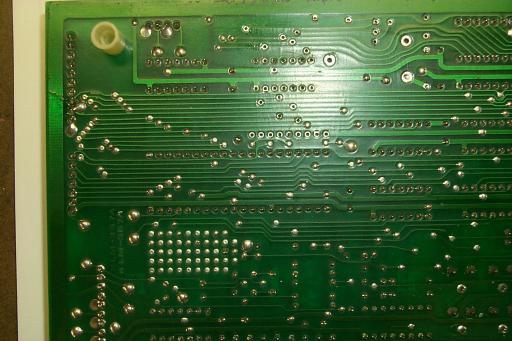
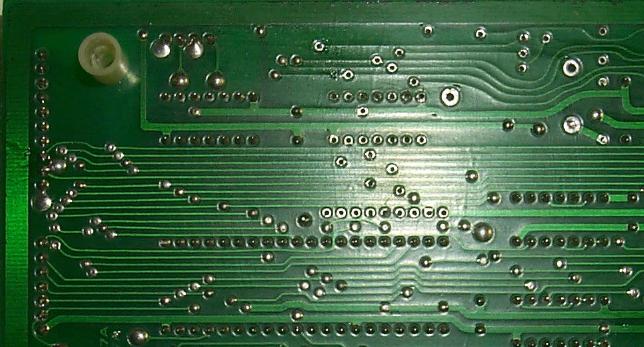
The Dremel is fitted with a #70 bit. These bits are tiny and easily broken if care is not taken. Proceed to carefully center the bit over a hole and bore out any remaining solder. At this time, tiny flecks of solder will "puff" out over the board; this will be cleaned up later. Make sure all drilling is done from the bottom side of the board. Here are closeups of the holes on this example's KLM-367 after drilling. (Note the one battery location solder pad that still has solder in it--this was done on purpose as the new battery holder only needs two mounting holes).

5-4: Clean both sides of the board with alcohol and brush to remove residual solder flecks. Be thorough.