REI <==> Reverse Engineering, Inc.
Old Crow's Synth Shop: Polysix KLM-367 Board Repair
WARNING: I can't stress this enough. The procedure now involves cutting
away damaged circuit traces with a sharp X-acto knife. This is tricky,
sometimes hazardous (I've gotten cut more than once over the years) and
time-consuming. If you are not up to it, get a friend who is.
Step 4: Cutting Away the Damaged Traces
NOTES: before excising a trace, first take the knife and 'nick' the
trace at one end. This is so that when the trace is peeled up, it will
stop peeling at the right place. Once this is done, take the knife and
make a sharp cut across the trace at the point you wish to start removal.
Once this is done, use the tip of the knife while keeping the blade level
with respect to the board to 'dig' under the sharp cut. After a few
tries, the trace with 'catch' on the blade and start to roll up into a
tight spiral. If you can get enough of the trace started coming up, use
your fingers and try to gently pull on the 'tail' of the trace and it will
peel right off the board, breaking off where the 'nick' was made.
Some traces are not so cooperative. The blackened ones often have most
of the copper weakened to the point that they do not peel up, they crumble
from board. In this case, you have to carefully excavate the trace using
the knife and a lot of patience. Do not dig deep into the glass-epoxy
board material; the traces are all on the surface under the soldermask.
Also, some traces tend to come up in short segments. Use a combination of
digging and peeling to get these off the board.
If you can get ahold of a 'junk' circuit board, practice on it!
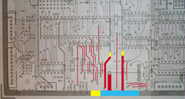
4-1: Start by cutting the short, thin traces near IC31. Do not worry if
you pull up the top-layer solder pads; they are not going to be used
anymore.
4-2: Next, proceed to the longer traces. If there is a via (pad hole)
along the trace, you can either stop there or, if the pad is in the middle
of a bad section, stop there and start again on the other side of it.
4-3: Finally, remove the thick traces. These are the toughest to cut,
but tend to be the easiest to remove once started.
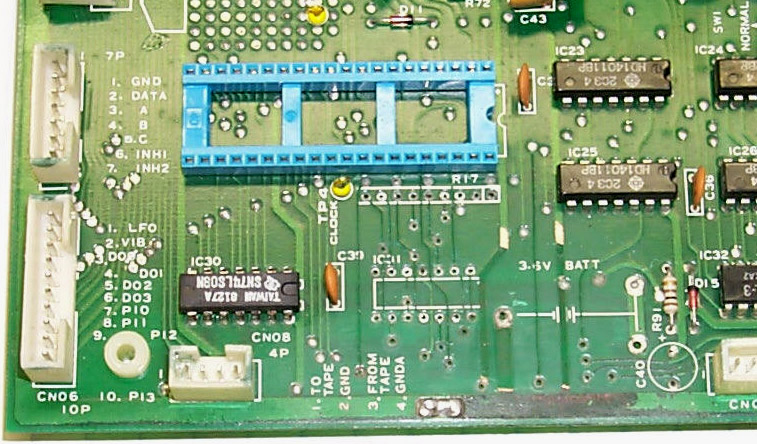
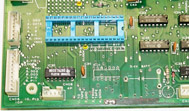
Here is a closeup of the board after removing most of the traces marked
on the tracemap.
 4-4: Once again, clean the area with a brush and alcohol.
Scott Rider -- oldcrow@oldcrows.net