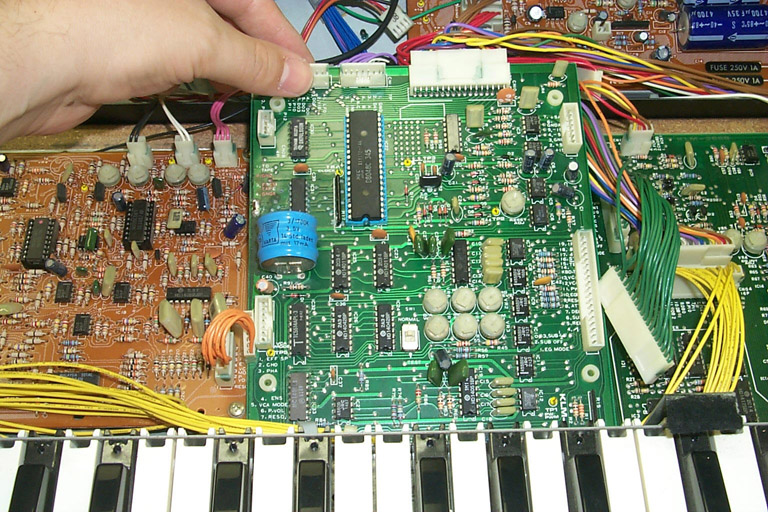
4-2: Next, gently pull the board toward the back of the unit (toward the KLM-376 power supply board). The board will start to lift out; just stand it up vertically so that CN10 can now be taken care of. CN10 was left connected as its close proximity to the back of the case, coupled with the fact it is the only right-angle connector, make it too difficult to pry loose while the board is mounted.
4-3: Following the same procedure as for the other connectors, use the
X-acto knife to crack the glue and a this time a small, flat screwdriver
fits easily into the open edge (which is facing up) to help remove the
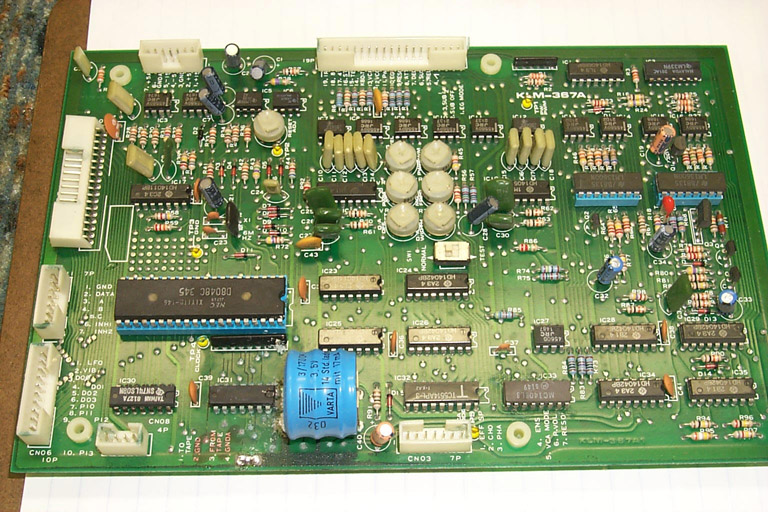
connector from the socket. The KLM-367 is finally free! (And note the
crud all over the board where the blown battery is located).